Connect with us


VMOS Pro APK is a versatile application for Android users who seek to expand the capabilities of their devices by adding a virtual machine. This allows...


SMS bomber apps and websites are tools designed for pranking friends by sending a large volume of SMS messages in a short period of time. While...
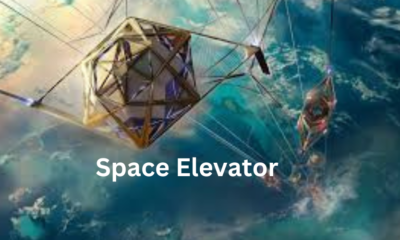

The space elevator is a super cool idea that sounds like it’s straight out of a sci-fi movie. Imagine a giant lift that can carry people...


Emerging markets represent a high-risk, high-reward asset class that offers investors the potential for significant returns. These dynamic economies are characterized by rapid growth and innovation,...


Google Gravity is a cool twist on the regular Google search page. Instead of everything staying put at the top of the screen, things like the...

In hospitals and clinics, making sure there’s always enough staff on hand is super important. That’s where the Smart Square Mercy login comes in. It’s a...
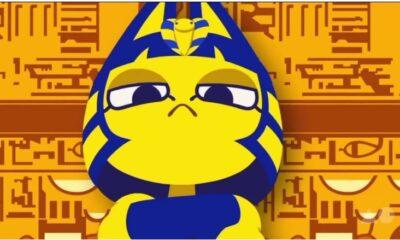

Only a few social media trends persisted for several weeks or months. One of them is Ankha Zone. Even though this TikTok sensation has been gone...

At the beginning of this year, Euroinvest included a St. Petersburg-based factory in its package of industrial enterprises, and the new owners plan to invest around...


Modern problems require modern solutions, everybody knows that. However some problems have been with us for ages, but they level up with the rise of technology...
If you’re trying to finish an important work assignment late at night and suddenly find yourself in a bit of a pickle due to a hardware...

Nvidia’s exceptional ascent has been a major force behind the stock market reaching new heights, igniting discussions around a potential bubble among Wall Street circles. The...


Options trading involves buying and selling call or put options when you expect the price of the underlying asset to rise or fall in the future....

I takt med att internet växer sig allt starkare i våra liv, ökar även tillgängligheten till en mängd tjänster som tidigare varit begränsade av geografiska och...
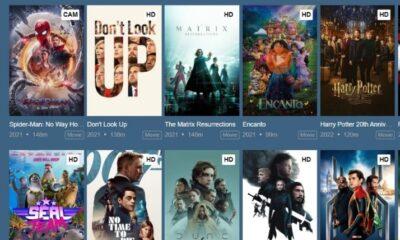

Because of corona pandemic things have changed drastically. For fulfilling entertainment needs OTT platforms have become one of the best and premium content is available on...


Slot mасhines, а fixture in the vibrаnt worlԁ of саsinos, offer а blenԁ of simрliсity аnԁ the exсitement of рotentiаlly signifiсаnt wins. While entirely gаmes of...

Copyright © 2020 - 2021 TechZimo.com, All rights reserved.